If you’re trying to secure greenhouse plastic to the structure of your greenhouse, butyl tape is a fantastic adhesive option for such applications. Best known for its flexibility and waterproof properties, butyl tape offers a number of advantages for growers. Here’s a closer look at those benefits, as well as a quick guide on how to properly secure the greenhouse film to the frame using butyl tape:
Benefits of Butyl Tape
Butyl tape has several characteristics that make it a reliable must-have for growers. It’s resistant to high temperatures, chemical exposure, abrasion, and even most weather situations, which makes it an easy choice for sealing applications as well.
If you are trying to reliably affix plastic sheeting, you’ve probably already heard that not just any adhesive will do. The beauty of this tape is that it allows you to maintain the same environment within your greenhouse while still effectively securing your plastic sheeting so that it’s functioning properly for the task at hand.
Related Article: What is Reinforced Butyl Tape?
How to Secure Greenhouse Plastic With Butyl Tape
When it comes to securing greenhouse plastic, butyl tape is a super-strong self-adhesive that is easy to apply on whichever surfaces you need. Ready to get that stubborn new plastic sheeting in place?
Here’s a quick step-by-step:
1) Prepare the Surface
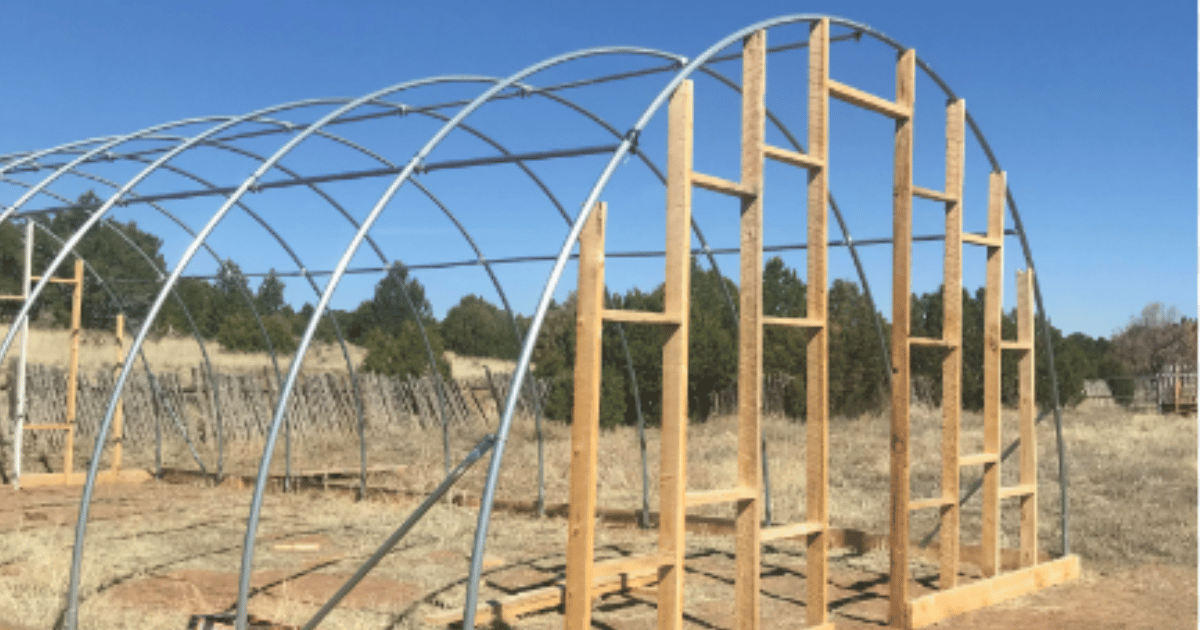
Before applying butyl tape, make sure that the surface is clean, dry, and free from dirt, grease, or water. These can affect the tape’s adhesive properties and may impact the strength of your seal. We recommend storing butyl tape at room temperature to maintain its effectiveness. With a greenhouse plastic installation project, you should always start with the long side of the greenhouse first, followed by the end walls. There is typically a bottom board to which your greenhouse hoops attach. That’s where you will be adhering the first segments of plastic onto your structure.
2) Adhere Liner to Plastic Sheeting
After the surface is prepared, you’ll need to apply 1-2 rows of our 2 sided butyl tape along the entire length of the board, on both sides, but leave on the release liner for now.
3) Position Sheeting and Remove Liner
Next, fit the cover squarely over the greenhouse. Once it is square, the cover will be pulled so that it just barely touches the ground on one side. It’s important to ensure that it is aligned correctly. Now you’re cleared to start removing the release liner a few feet at a time, while firmly pressing the poly against the tape, continuing along the entire length of the greenhouse. By applying firm pressure you will create a secure seal.
4) Trim Off Excess and Finish the Bottom Side
Once the first side is done, you’ll be able to pull the cover tight on the other side and trim off any excess film at ground level. With the cover cut to the correct length, begin to remove the release liners and firmly push the poly against the butyl tape once again, while pulling down on the cover to make it as tight as possible over the structure. Light deprivation tarps can also be attached the same way, but only on one side so that the cover is able to be pulled back and forth without being pulled completely off of the structure. If not using a solid end wall, the butyl tape will be applied to not only the bottom board but to the outside face of the hoop or wood that frames the end wall.
5) Center the Plastic Sheeting
Now that the bottom side is finished, it’s time to finish up the installation. Center the poly for the end wall and start removing the release liner on one side while firmly pushing the poly against the butyl tape. Once the first side of the hoop is attached, they can proceed to the other side, pulling the poly as tight as possible. After the entire hoop is attached, you can remove the release liner from the bottom row a few feet at a time and secure the poly to the butyl tape. Now any door or window openings may be cut out.
Find The Right Butyl Tape For Your Greenhouse Project
As an Americover customer, you will receive the personalized support of a dedicated account manager to simplify the ordering process and ensure the best solution for every one of your projects.
Our friendly, knowledgeable staff is here to answer your questions and fulfill orders Monday-Friday from 7 a.m. to 4:30 p.m. Pacific Standard Time. For more information or a free sample, call us at 760-388-6294 or visit our Contact Us page.

