
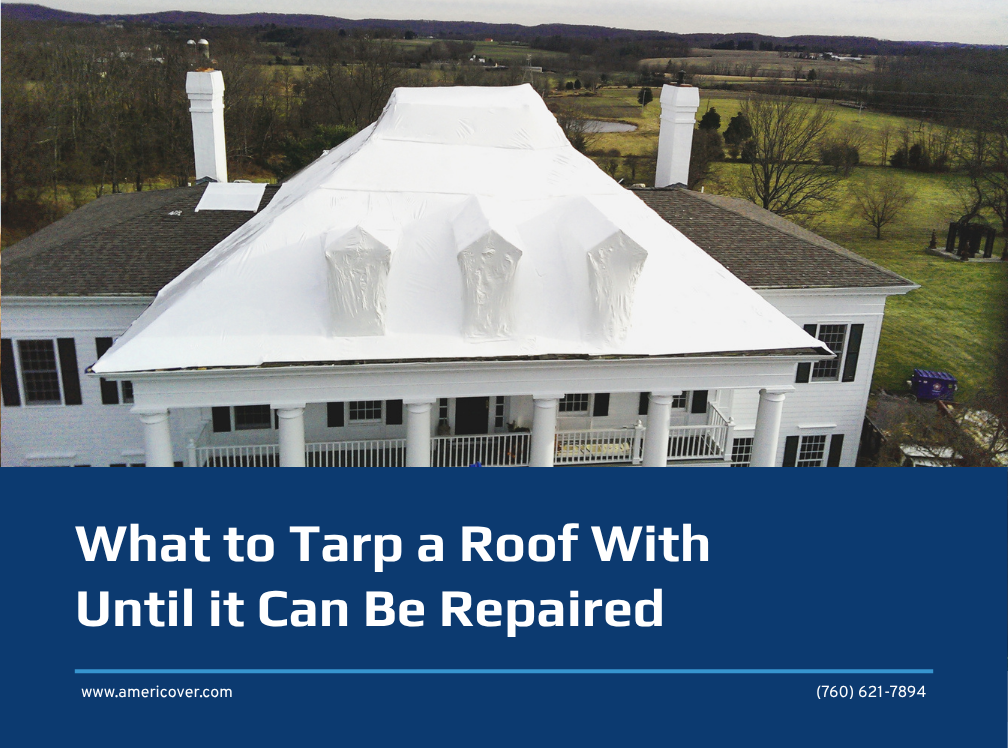
When storm season stacks up roof damage faster than crews can repair it, the right sheeting and the right fastening method keep water out until the permanent fix.
Hurricane and tornado seasons bring wind, hail, and heavy rain. They also bring a backlog. A roofing contractor can have a dozen damaged homes on the list and only enough crew to repair two this week. Meanwhile, a homeowner can wait weeks for an adjuster and a roofer.
In the meantime, water keeps finding its way in. Before long, one leak becomes wet insulation, stained drywall, and mold. That’s why the fix is to tarp a roof properly the first time, with material that holds up until the permanent repair happens.
This guide covers what to tarp a roof with, how to install it so it stays put, and the mistakes that send crews back up the ladder.
What You’ll Need
- Reinforced plastic sheeting large enough to cover the damaged area and carry over the ridge
- Wood battens such as 2x4s or furring strips, to anchor the sheeting edges
- Screws or nails long enough to pass through the batten and into the roof deck
- Utility knife and tape measure
- Ladder and fall protection, including a harness and anchor for any work at height
- Broom or blower to clear debris before the sheeting goes down
Before You Start: Choose the Right Sheeting
Blue tarps from the hardware store are easy to find. However, they are also the first thing to shred in a windstorm. First the grommets tear out. Then, once a tear starts at an edge, wind does the rest.
Reinforced plastic sheeting solves that problem because a scrim grid is laminated between layers of polyethylene. As a result, if the film is punctured, the scrim stops the tear from running. Below are our recommendations, grouped by how long the roof will wait and how fast you need to cover it.
Heavy-Duty Sheeting for Long Waits
20 Mil Dura-Skrim® Reinforced Plastic Sheeting — The heaviest option in the line. Built with UV inhibitors, carbon black, and thermal stabilizers for extended outdoor exposure. Therefore, it’s best for roofs that will wait a long time for repair.
12 Mil White/Black Dura-Skrim® Reinforced Plastic Sheeting — Multi-layer laminated film with a white UV-stabilized outer layer and a black inner layer. In addition, it’s an ASTM E96-tested vapor retarder.
Clear Sheeting for Inspection and Long Exposure
10 Mil Clear Dura-Skrim® Reinforced Plastic Sheeting — Four bonded layers with scrim reinforcement and a high concentration of UV inhibitors. Rated for up to one year outdoors. Also, the clear film lets you see the damage underneath during inspections.
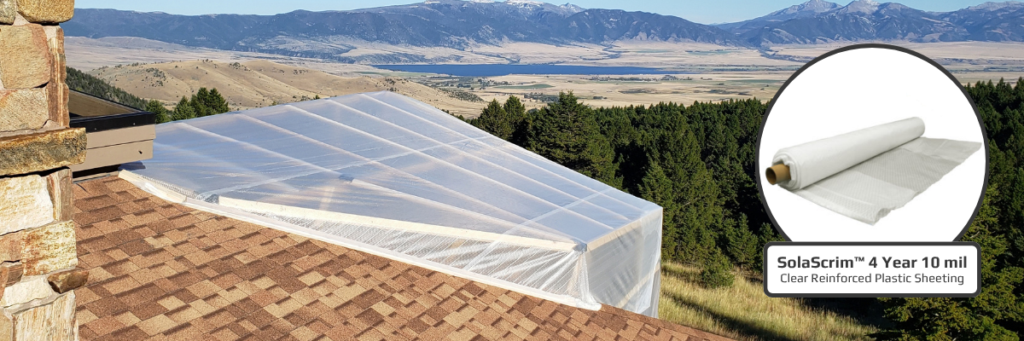
SolaScrim™ 4 Year 10 mil Clear Reinforced Greenhouse Cover — Built for greenhouses, but its strengths carry over to roofs. It has a 1000 denier polyester scrim and advanced UV inhibitors, and it lasts up to 4 years outdoors depending on installation and exposure. Stocked widths run from 26.5′ to 46.25′, so one panel can cover a whole roof face without a seam. In short, pick it when a roof could wait months for repair.
Lighter Sheeting for Fast Coverage
8 Mil White/Black Dura-Skrim® Reinforced Plastic Sheeting — A middle-weight reinforced sheet with UV inhibitors and thermal stabilizers. A good balance of strength and handling weight.
6 Mil Black White Dura-Skrim® Reinforced Plastic Sheeting — Polyester scrim-reinforced and light enough to move and install quickly across many roofs. Carbon black and UV inhibitors extend its life outdoors. A smart pick when you have a long list of roofs and need to cover them fast.
An Alternative: Heat Shrink Wrap
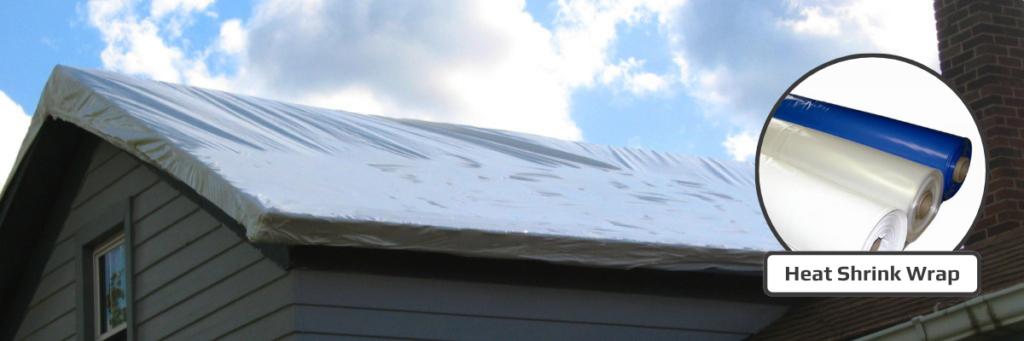
Heat Shrink Wrap — A different approach entirely. The film is heat-shrunk into a tight, contoured cover with no loose edges for wind to catch. It requires a heat tool and a trained crew, so it fits contractor and commercial jobs better than DIY repairs.
Quick Product Comparison
| Product | Image | Outdoor Life (UV) | Link |
|---|---|---|---|
| 20 Mil Dura-Skrim® |  |
UV inhibitors, carbon black, and thermal stabilizers for extended outdoor exposure | View product → |
| 12 Mil White/Black Dura-Skrim® | 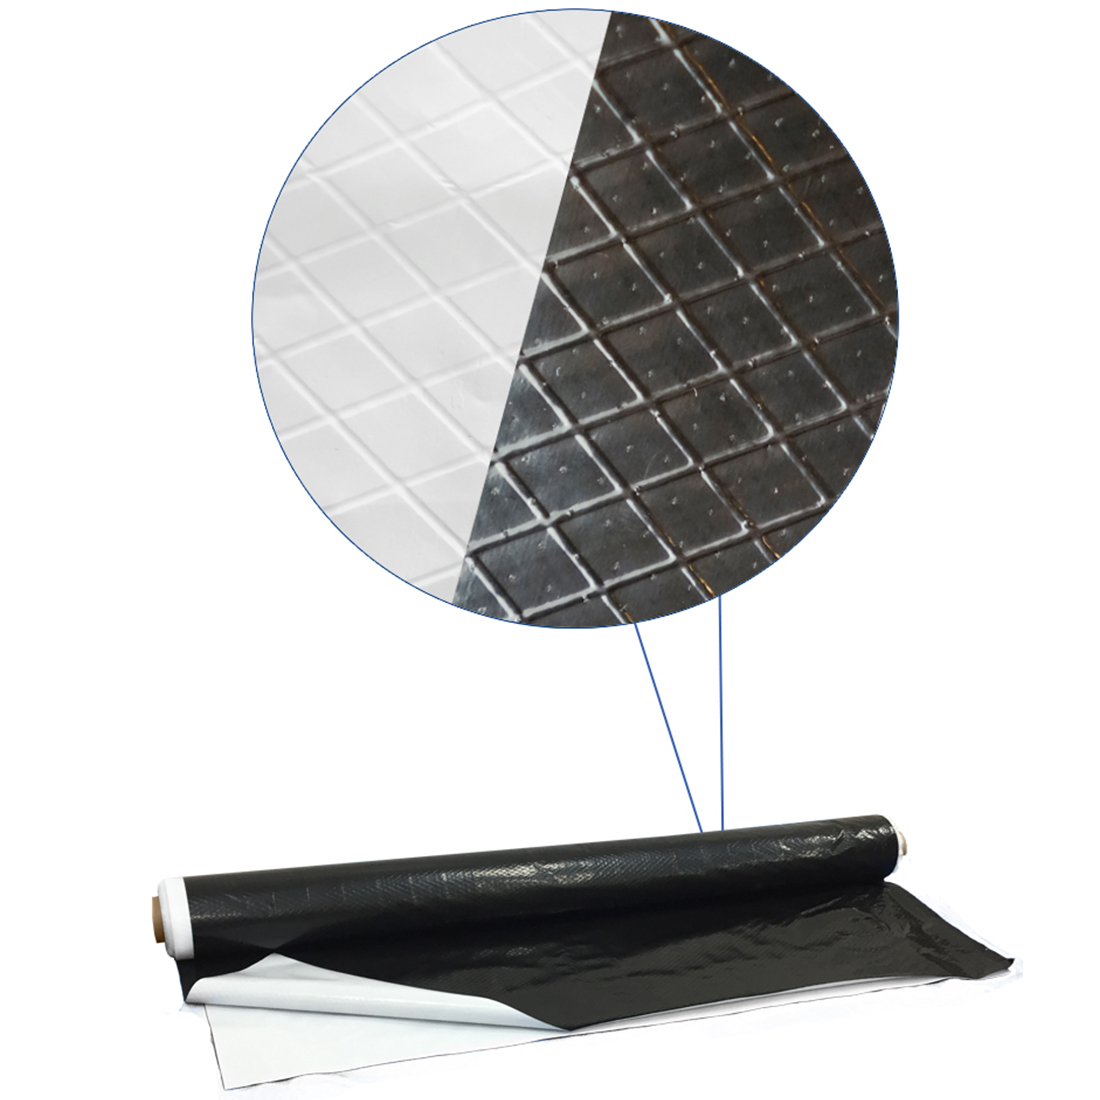 |
UV inhibitors in the white outer layer; carbon black in the black layer | View product → |
| 10 Mil Clear Dura-Skrim® | 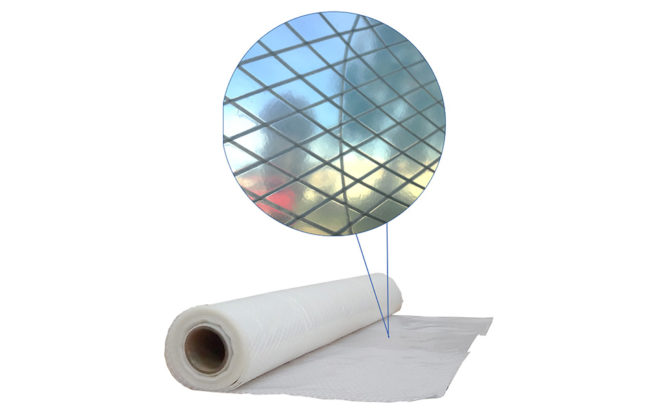 |
Up to approximately 1 year outdoors | View product → |
| SolaScrim™ 4 Year 10 mil Clear | 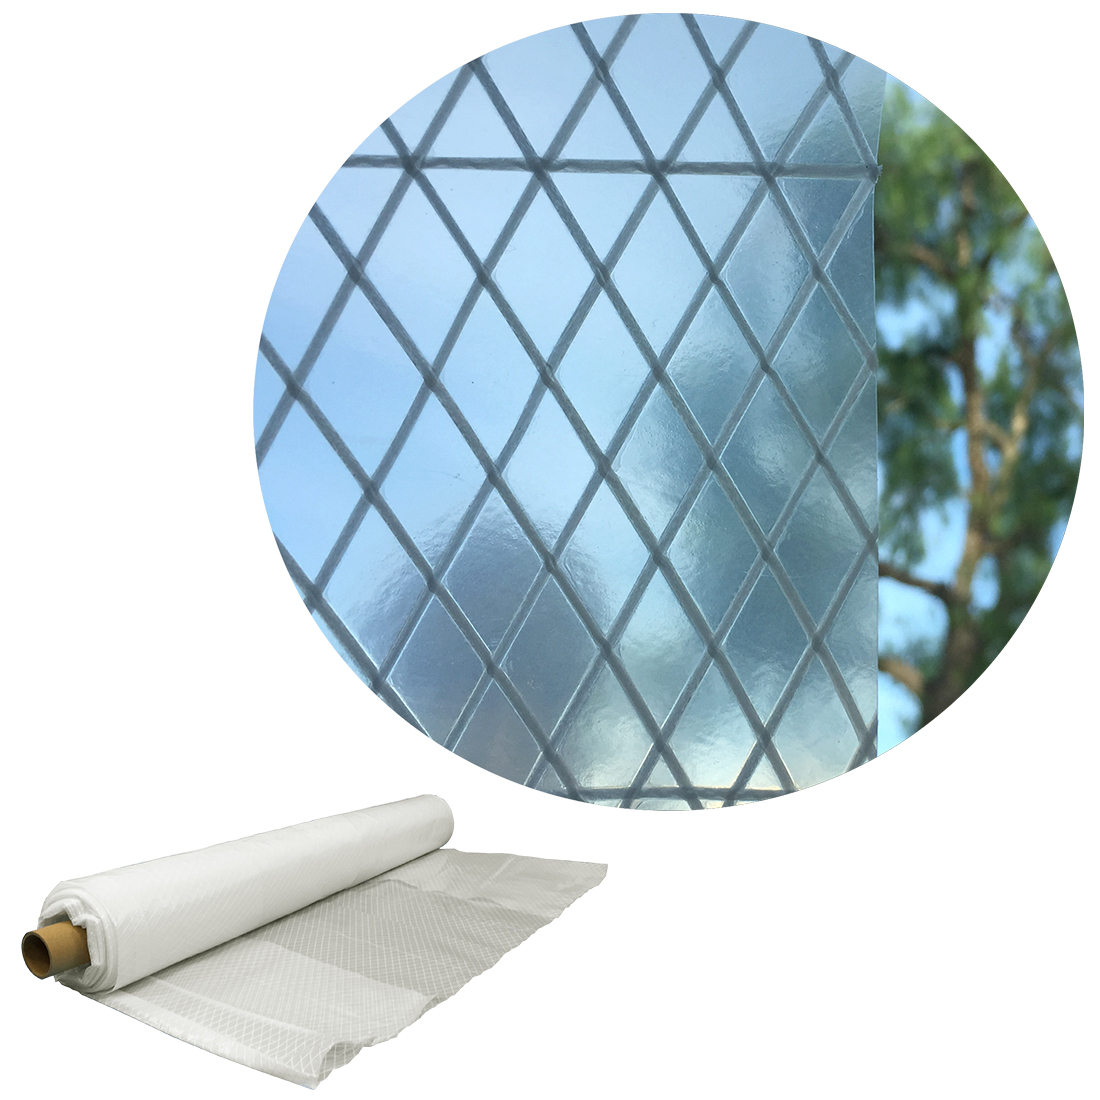 |
Up to 4 years outdoors | View product → |
| 8 Mil White/Black Dura-Skrim® | |
UV inhibitors in the white outer layer; carbon black in the black layer | View product → |
| 6 Mil Black White Dura-Skrim® | |
Carbon black and UV inhibitors | View product → |
| Heat Shrink Wrap |  |
UV-stabilized with UV inhibitors | View product → |
| Need a rated outdoor life for your project timeline? Ask an Americover specialist → | |||
Step 1: Assess the Damage From the Ground and the Attic
Start in the attic with a flashlight. Look for daylight, wet sheathing, and drip trails. Water travels along rafters, so the leak inside is often several feet downslope from the hole outside.
Next, check the roof from the ground or a ladder. If the deck feels soft or framing is broken, stay off it. The U.S. Army Corps of Engineers will not install its temporary Blue Roof covers on homes with more than 50 percent of the roof framing damaged. (USACE) In other words, that damage calls for a structural fix, not a tarp.
Step 2: Clear Debris
Sweep off branches, loose shingles, and granules. Anything left under the sheeting will rub through the film over time. Also remove nails or sharp edges that stick up.
Step 3: Measure and Cut
Measure the damaged area. Then add enough length to carry the sheeting over the ridge and down the other side. Similarly, add enough width to extend past the damage on both sides.
Cut the sheeting on the ground, not on the roof. A full roll is heavy, and OSHA recommends two people or lifting equipment for handling tarp rolls.
Step 4: Anchor Over the Ridge First
Water runs downhill. So if the top edge of your sheeting sits below the ridge, rain will run right under it. Start at the ridge. Drape the sheeting over the peak so the top edge sits on the opposite slope.
Roll the edge of the sheeting around a 2×4 or furring strip two or three times. Then fasten through the board and into the roof deck. This way, the board clamps the sheeting and spreads the load along its full length.
Step 5: Secure the Sides and Bottom Edge
Repeat the batten method along both sides and the bottom edge. Pull the sheeting snug, but not drum-tight. Above all, leave no loose edges or flapping corners. Otherwise, wind gets under a loose edge, lifts it, and peels the whole sheet back.
Step 6: Inspect After Every Storm
Check the cover after high winds and heavy rain. Look for lifted battens, pulled fasteners, and pooled water. Fix small problems before they grow. Finally, remember that tarping is temporary. The goal is to protect the structure until the permanent repair is done.
Common Mistakes When You Tarp a Roof
- Stopping short of the ridge. Water runs under the top edge and into the deck.
- Nailing through bare film. Every nail becomes a tear point. Use battens.
- Relying on grommets. Grommets on light retail tarps tear out under wind load.
- Walking on wet sheeting. OSHA warns that wet surfaces are slip hazards. Let sheeting dry before you step on it, and wear slip-resistant shoes.
- Leaving the tarp on too long. UV breaks down every film eventually. Match the sheeting to how long the roof will wait for repair.
Frequently Asked Questions
What is the best material to tarp a roof with?
Scrim-reinforced polyethylene sheeting with UV inhibitors is the best choice for most roofs. The reinforcement stops tears from spreading at fasteners and edges, which is where standard retail tarps usually fail.
Should I nail a tarp directly to the roof?
Avoid nailing through bare film. Roll the sheeting edges around 2x4s or furring strips and fasten through the boards into the roof deck. This spreads the load and keeps the fasteners from tearing the sheeting.
How long can a tarp stay on a roof?
It depends on the material’s UV resistance. Americover’s 10 mil Clear Dura-Skrim®, for example, is rated for up to one year outdoors. Every roof tarp is temporary, so schedule the permanent repair as soon as you can.
Do I need fall protection to tarp a roof?
OSHA requires fall protection for workers on roof edges 6 feet or more above a lower level. Homeowners without proper equipment should hire a qualified contractor.
Can I use heat shrink wrap on a roof?
Heat shrink wrap makes a tight, contoured weather cover with no loose edges. It requires a heat tool and trained installers, so it works best for contractors and commercial jobs.
Protect the Roof Now. Repair It Right Later.
Americover has supplied American-made reinforced sheeting to contractors and homeowners since 1993. Our team will help you pick the right sheet and panel size for the job. Talk to an Americover specialist about your roof